


Meringue cookies have a reputation for being fussy, and honestly, that reputation is not entirely undeserved. One wrong move with fat in your bowl or sugar added too fast, and you end up with flat, weeping, or gritty cookies that refuse to dry out properly. The good news is that once you understand exactly why each step matters, these become one of the most reliable treats you can make. This recipe yields 48 crisp, cloud-light meringue cookies from just five ingredients, and the technique is straightforward enough for a first-time baker to nail.
Why Most Homemade Meringue Fails (and How to Fix It Before You Start)
The single most common reason meringue cookies fail is fat contamination. Any trace of egg yolk or grease left in your mixing bowl will prevent the whites from whipping up properly, leaving you with a flat, soupy mess instead of glossy stiff peaks.
Before you do anything else, wipe your bowl and whisk attachment down with a little white vinegar on a paper towel. It takes thirty seconds and eliminates the most likely point of failure entirely.
The second silent killer is sugar. Not all granulated sugar behaves the same way. Some brands contain large clumps that will never fully dissolve, no matter how long you run your mixer. Sift your sugar before you start, and if it looks coarse, pulse it briefly in a food processor. Undissolved sugar causes weeping during baking, that sticky syrup that oozes out from the base of each cookie.
One thing to watch: if you rub a small amount of meringue between your fingers and it still feels gritty, the sugar has not dissolved yet. Keep mixing. The meringue is only ready when it feels completely smooth between your fingertips.
Ingredients for Meringue Cookies
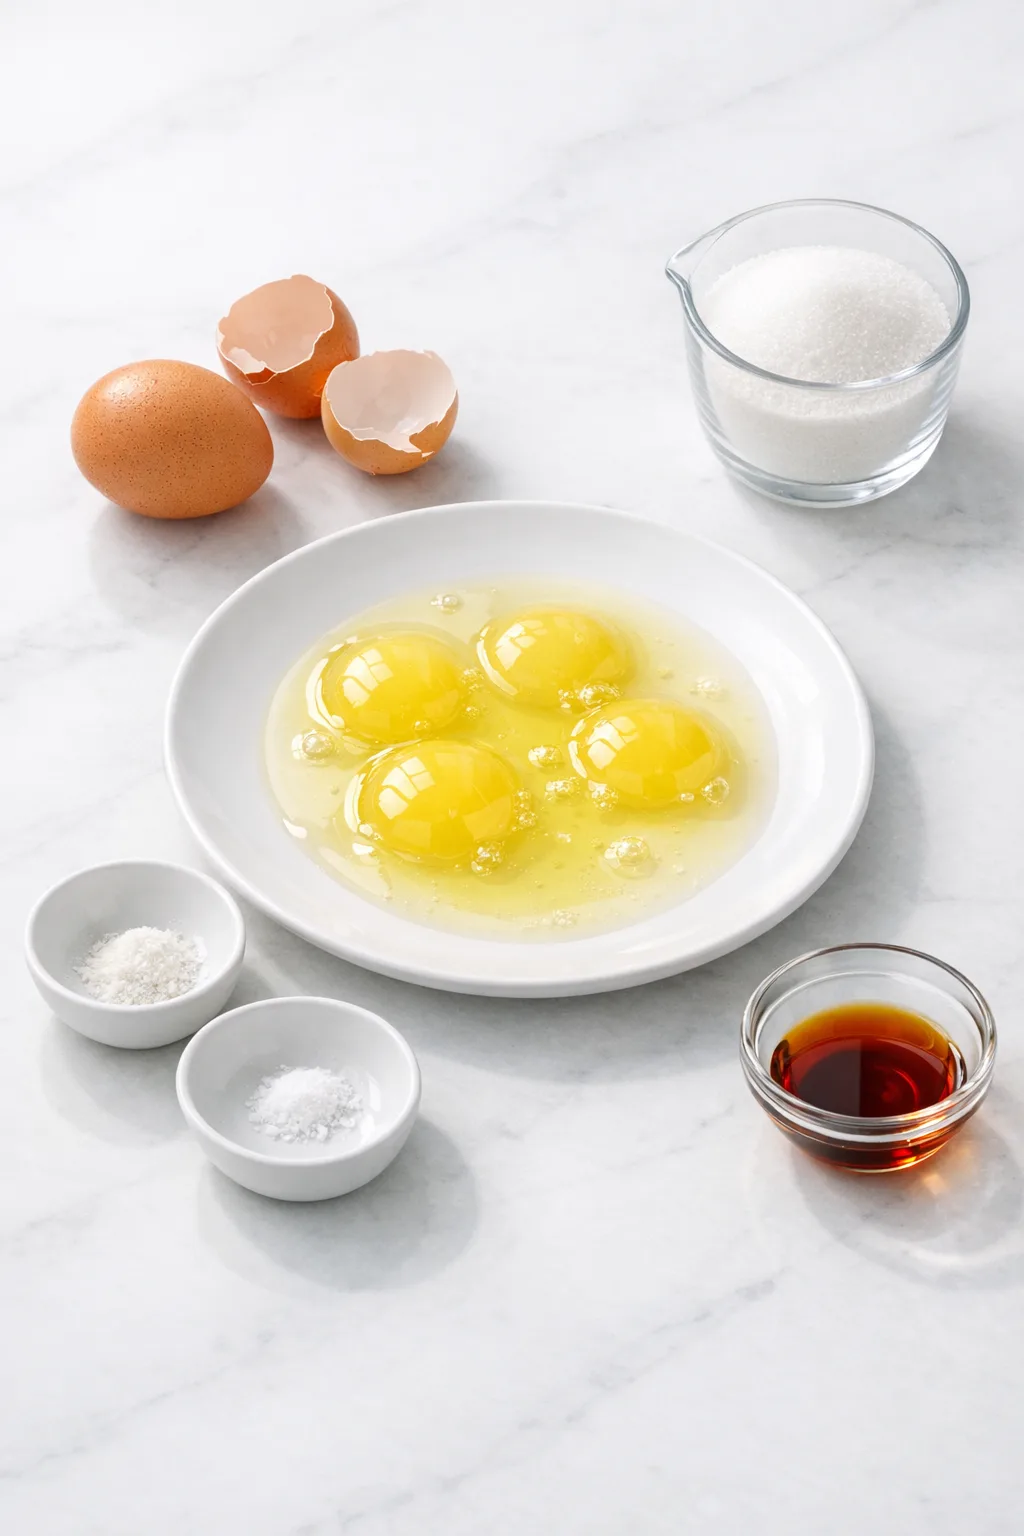
The ingredient list here is genuinely short. Every item plays a specific role, so it is worth understanding what each one does before you start.
- 4 large egg whites: The structural foundation of the entire cookie. Separate them carefully into a clean bowl, checking each one as you go to catch any yolk or shell fragment.
- ¼ teaspoon cream of tartar: This is a byproduct of the winemaking process, and its job is to stabilize the egg whites by acting as an acid. If you do not have it, a ¼ teaspoon of white vinegar or fresh lemon juice works as a substitute.
- Pinch of salt: Salt adds a subtle contrast that keeps the cookies from tasting one-dimensionally sweet.
- 1 cup granulated sugar (200g): The backbone of the meringue’s structure and crispness. Sift it before using.
- 1 teaspoon vanilla extract: Adds warmth and rounds out the sweetness. Almond extract or peppermint are equally good choices if you want to change the flavor profile.
The egg whites you have left over from making ice cream or custard are ideal here. This recipe is a natural companion to any recipe that uses only yolks, and the same technique used to whip these whites is the foundation of Swiss Meringue Buttercream, which takes that egg white mastery into frosting territory.
Step-by-Step Instructions
Step 1: Prepare Your Workspace for Success
Position two oven racks towards the center of the oven and preheat to 200°F. Line two large Baking Sheets with parchment paper and set them aside.
Wipe your Mixing Bowl and whisk attachment with white vinegar before adding anything. The bowl should look clean and feel dry, with no slick or oily residue at all.
Step 2: Build a Stable Foam Base
Add the egg whites, cream of tartar, and salt to the bowl. Using a Hand Mixer or stand mixer fitted with a whisk attachment, begin mixing on low speed and gradually increase to medium.
You are looking for the whites to turn frothy and opaque, which takes about 30 seconds. If the mixture still looks clear and watery, keep going before adding any sugar.
Step 3: Dissolve the Sugar Slowly to Lock In Gloss
Once the egg whites are frothy, slowly add the granulated sugar one teaspoon at a time while the mixer runs. Once all the sugar is incorporated, mix in the vanilla extract. Scrape down the sides of the bowl a few times as sugar can build up around the edges.
Think of it like the lightest possible rain falling into the bowl, not a pour. Adding sugar too fast is the most common mistake at this stage. If you dump it in all at once, the meringue will never reach the right texture.
Step 4: Whip to Stiff, Glossy Peaks with No Grit
Continue mixing on medium-high speed until the sugar has fully dissolved and the meringue holds a thick, marshmallowy peak, about 10 to 15 minutes. The surface should look glossy and smooth, not bumpy or dull.
To test it, rub a small amount between your thumb and forefinger. You will know it is ready when the texture feels completely silky with zero graininess. If adding food coloring, add a tiny amount using a toothpick and mix until fully incorporated.
Step 5: Fill the Piping Bag Without Making a Mess
Transfer the meringue into a large piping bag fitted with a large star tip. Before piping your cookies, pipe small dollops of meringue onto the corners of each baking sheet and press the parchment paper down onto them. This anchors the paper so it does not slide around while you work.
My personal preference is an open star tip (an 869 works beautifully) because it gives each cookie those clean, defined ridges that look impressive with almost no extra effort.
Step 6: Pipe Consistent Cookies Across Both Sheets
Hold the piping bag about ½ inch above the paper. Squeeze to form a dollop about 2 inches wide, then stop squeezing and lift the bag straight up to create the tip. Leave about an inch of space between each cookie to allow airflow. Piping 6 rows of 4 gives you 24 cookies per sheet, for a total of 48.
If the meringue starts to look less glossy or begins to weep while you pipe, it has likely been sitting too long. Work at a steady pace once you start.
Step 7: Bake Low and Slow, Then Let the Oven Finish the Job
Bake for about 1 hour, or until the cookies are dry to the touch and sound hollow when you tap one lightly. In humid conditions, they may need additional time. Turn the oven off and leave the meringues inside with the door closed for an additional 2 hours to dry out completely.
They are done when they feel feather-light and lift cleanly from the parchment without any resistance. A cookie that sticks or feels soft in the center needs more drying time.
What Separates a Good Meringue Cookie from a Great One
- Avoid humid days: Moisture in the air is absorbed by the sugar in the meringue, which prevents the cookies from crisping up properly. A dry day makes a noticeable difference in the final texture.
- Sift your sugar every time: Even if you have used the same brand before, clumps can form in storage. A quick sift takes ten seconds and prevents gritty cookies.
- Do not rush the mixing time: The meringue may look done after five minutes, but the sugar likely has not fully dissolved yet. Keep going until that finger test confirms smoothness.
- Add color with a toothpick: Gel food coloring is more concentrated than liquid. A toothpick gives you far more control than pouring directly from the bottle.
- Use freeze-dried berry powder for flavor and color together: Pulse freeze-dried berries in a food processor, sift out the seeds, and fold the powder into the finished meringue for a natural fruit flavor with a beautiful pastel color.
Serving Suggestions
These cookies are genuinely versatile. Served plain, they have a clean sweetness and a satisfying crunch that makes them easy to eat by the handful.
Dipping the bases in dark or white chocolate adds richness and a slight bitterness that balances the sweetness well. Let the dipped cookies set on parchment until the chocolate is firm and matte.
For a gathered dessert spread, these sit beautifully alongside something richer and denser. Unlike Stained Glass Christmas Cookies, which rely on a buttery shortbread base and visual drama, meringue cookies bring airiness and crunch to the table, making them a strong contrast on any holiday cookie platter.
You can also crumble them over whipped cream and fresh berries for an Eton mess, or pipe them as nests and fill them with cream and fruit for individual desserts that look far more involved than they actually are.
For events where you want something more familiar alongside these, S’mores Chocolate Chip Cookies bring a completely different texture and flavor profile, making the two a complementary pairing rather than a repetitive one.
Storage: Make a Big Batch and Keep Them All Week
Meringue cookies keep for up to 2 weeks when stored in a dry, airtight container at room temperature. Moisture is their only real enemy after baking.
Do not refrigerate them. The humidity inside a refrigerator will cause them to soften and become sticky within hours. A pantry or cupboard away from the stove is ideal.
There is no reheating needed for these cookies. If they have softened slightly from humidity exposure, you can place them back in a 200°F oven for 15 to 20 minutes with the door slightly ajar to draw out the moisture. They should return to a dry, crisp texture once cooled.
FAQs
Why are my meringue cookies sticky or chewy instead of crisp?
This almost always comes down to humidity or insufficient drying time. Make sure you leave them in the turned-off oven for the full 2 hours after baking. If your kitchen is particularly humid, they may need even longer. Store them immediately in an airtight container once cooled.
Can I make meringue cookies without cream of tartar?
Yes. Substitute ¼ teaspoon of white vinegar or fresh lemon juice. Both are acids that serve the same stabilizing function, helping the egg whites hold their structure through mixing and baking.
Why did my meringue cookies crack on top?
Cracking is usually caused by sugar that was not fully dissolved before baking, or by meringue that was overmixed after the sugar was added too quickly. Sift your sugar, add it slowly, and stop mixing as soon as the finger test confirms smoothness.
How do I know when the meringue is ready to pipe?
Rub a small amount between your fingers. It should feel completely smooth with no gritty texture at all. The meringue should also hold a stiff, glossy peak that does not droop or collapse when you lift the whisk.
Can I flavor meringue cookies beyond vanilla?
Absolutely. Almond extract and peppermint both work well at the same 1 teaspoon quantity. For a more complex flavor, fold in sifted freeze-dried berry powder after the meringue is fully whipped.
Why do my meringue cookies weep or ooze during baking?
Weeping is caused by undissolved sugar. The sugar draws moisture out of the meringue as it heats. Adding the sugar slowly and mixing until the finger test confirms zero graininess is the most reliable way to prevent this.
Ready to Give These a Try?
Once you understand the two real rules, clean bowl and slow sugar, meringue cookies stop feeling intimidating and start feeling like one of the most satisfying things you can bake.
They come together from ingredients you likely already have, they keep for two weeks, and they look genuinely impressive on any table without requiring advanced skill.
Give this one a try the next time you have leftover egg whites sitting in the fridge. You might be surprised how quickly 48 cookies disappear.
Essential Kitchen Tools
Making Meringue Cookies? Most failed attempts come from using the wrong pan or heat setup — not the recipe itself.

Want to save this recipe?
Want to save this recipe? Enter your email below, and we'll send it straight to your inbox. Plus, receive new recipes every week!

Beginner-Friendly Meringue Cookies Recipe
- Total Time: 3 hours 30 minutes
- Yield: 48 cookies 1x
Description
Airy and light meringue cookies with a crisp exterior and a melt-in-your-mouth interior. Made with simple ingredients like egg whites and sugar, these cookies are perfect for beginners. The vanilla adds a subtle sweetness that enhances the delightful texture of these treats.
Ingredients
- 4 large egg whites
- ¼ teaspoon cream of tartar
- Pinch of salt
- 1 cup granulated sugar ((200g))
- 1 teaspoon vanilla extract
Instructions
- Adjust two oven racks to the center of the oven and preheat to 200ºF. Prepare two large baking sheets lined with parchment paper.
- In a large mixing bowl, combine the egg whites, cream of tartar, and salt using a hand mixer or a stand mixer with a whisk attachment. Start mixing on low speed, gradually increasing to medium.
- Once the egg whites become frothy after about 30 seconds, slowly incorporate the granulated sugar one teaspoon at a time. After all the sugar is mixed in, add the vanilla extract. Be sure to scrape down the sides of the bowl occasionally as sugar can accumulate there.
- Continue mixing at medium-high speed until the meringue achieves a thick, marshmallow-like texture that holds a peak, which should take about 10 to 15 minutes. If you wish to add food coloring, do so using a toothpick and mix until fully combined.
- Transfer the meringue into a piping bag fitted with a large star tip. Pipe small dollops of meringue onto the corners of the baking sheet and press down the parchment paper to secure it in place while piping.
- To create the cookies, hold the piping bag approximately ½ inch above the parchment and squeeze to form dollops about 2 inches wide. Stop squeezing and lift the bag to create a tip. Continue piping, leaving about an inch of space between each dollop for airflow. You can fit around 24 dollops on each sheet if you pipe 6 rows of 4.
- Bake for about 1 hour or until the meringues feel dry to the touch and sound hollow when tapped. If the weather is humid, they may require a longer baking time. After baking, turn off the oven and let the meringues sit inside with the door closed for an additional 2 hours to dry out completely. They should feel light and lift easily from the baking sheet.
Notes
TECHNIQUE TIP: Ensure sugar is fully dissolved by rubbing a small amount between your fingers; it should feel smooth before piping.
STORAGE: Store meringue cookies in an airtight container at room temperature to maintain their crisp texture for up to two weeks.
SUBSTITUTION: You can add a drop of food coloring or powdered freeze-dried berries for color and flavor variations.
- Prep Time: 30 minutes
- Cook Time: 1 hour
- Category: Dessert
- Method: Baked
- Cuisine: American
Nutrition
- Calories: 18 kcal
- Sugar: 4 g
- Sodium: 4 mg
- Fat: 0.02 g
- Carbohydrates: 4 g
- Protein: 0.3 g
